

Are you looking to design and develop a website from scratch? WordPress web design and development has become very popular and easy to use nowadays. So, this platform is a great place for custom WordPress development services. In this article, we’ll walk you through 8 easy steps to design and develop a website on WordPress without any coding or design experience! The built-in editors are for great help to customize your new website but you can also buy some new widgets to make your dream website.
Step 1: Choosing a Hosting Plan
When you’re ready to create a website, the first step is choosing a hosting plan. Your hosting plan is like the foundation of your house—it needs to be strong and stable to support everything else.
We recommend using WordPress.com for most small businesses since it’s an all-in-one solution that includes both hosting and a domain name (which we’ll get to in Step 2). With WordPress.com, you can start with a free plan and upgrade to a paid plan as your website grows. Plus, you don’t need to worry about installing WordPress or configuring hosting yourself, since that’s all taken care of.
If you decide to use another host or host your site yourself, make sure they offer:
– 24/7 customer support in case something goes wrong
– Automatic backups so you never lose your data
– A secure environment with SSL encryption
– Scalability so you can upgrade your plan as your traffic increases.
Browsing on the internet, you can read recommendations and the top best hosts for your website.
Step 2: Installing WordPress for Web Design and Development
Assuming you’ve completed Step 1 and have a domain name and hosting account ready, it’s time to install WordPress for the web design and development of your site:
1. Log in to your hosting account and open up the c Panel.
2. Find the “Softaculous Apps Installer” tool and click on it.
3. In the search bar, type “WordPress” and press enter.
4. On the next page select the blue “Install Now” button.
5. Enter your domain name into the “Choose Domain” field and make sure the “In Directory” field is blank. If you would like your homepage to be www.example.com/blog, you would enter “/blog” into this field. However, since we want our homepage to be www.example.com we will leave this field blank.
6. Complete the remaining required information fields: Site Name, Description, Admin Username, Admin Password, and Admin Email Address. Be sure to keep your username and password somewhere safe. You will need them to log in to your WordPress site once it’s installed.
Once everything is filled out, click on the green “Install” button at the bottom of the page.
Step 3: Custom WordPress Development Services: Selecting and Installing a Theme
Custom WordPress development services include an intuitive and simple method to customize your website. Choosing a theme is the first step in web design and development. It is supposed simply to find a theme you like and install it directly from the WordPress admin panel.
Installing a theme via the WordPress admin panel is the simplest method and only takes a few clicks. First, log in to your WordPress site and navigate to the “Appearance” section. Then, click “Themes” and “Add New.” From here, you can browse through the thousands of themes available on WordPress.org, as well as any other themes you have downloaded from elsewhere. When you find a theme you like, hover over it and click “Install.” Once the theme is installed, you can activate it by clicking “Activate.”
Another method is to first download the theme from its source (such as WordPress.org), then upload it to your WordPress installation via FTP.
Step 4: Creating Pages and Posts
Assuming you have WordPress installed (if not, see Step 1), you are ready to start creating pages and posts for your website.
To create a new page, go to the Pages > Add New section of your WordPress admin panel. Here you will be able to add a title and content for your page, as well as specify other settings like the page template and parent page. Once you are happy with your page, click the Publish button to make it live on your site.
Creating posts is similar to creating pages but with a few key differences. First, posts are typically displayed in reverse chronological order on your website (with the most recent post appearing first), whereas pages are usually static and appear in the same order every time someone visits your site.
Step 5: Adding Plugins
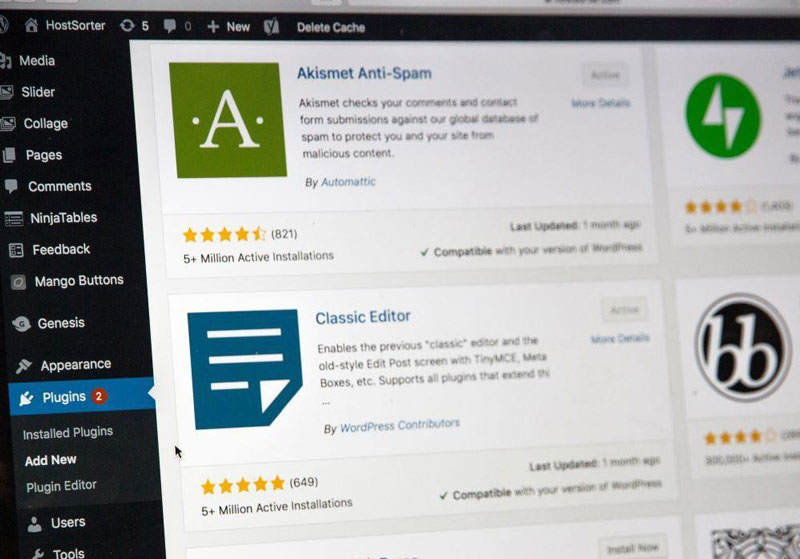
Adding plugins is one of the great things about WordPress web design and development of your site. Plugins are software programs that can be added to a WordPress site to provide additional features and functionality.
There are thousands of free and paid plugins available for WordPress, so finding the right ones for your site can take some trial and error. Here are a few tips for choosing plugins:
– Keep it simple: Choose only the plugins that you absolutely need. A plugin that adds a lot of bells and whistles may sound tempting, but it can also slow down your site and make it harder to use.
– Check reviews: Before installing any plugin, read reviews from other users. This will help you avoid any potential problems with compatibility or performance.
Stay up to date: Like all software, WordPress plugins need to be kept up to date to work properly. When a new version of WordPress is released, be sure to update all of your plugins accordingly.
Step 6: Customizing the Website Design
After you’ve just installed WordPress and chosen a theme, it’s time to start using WordPress web design services to customize your web design. WordPress themes come with a variety of built-in options for customization, so you can change things like the color scheme, font, header image, and other design elements to match your brand.
To use custom WordPress development services for your website’s design, log in to the WordPress dashboard, find Appearance, and click Customize. From here, you can change many aspects of the design to suit your needs. For example, you can add your logo, change the background color or image, add social media icons, and more.
Once you’re happy with your changes, click Save, then Publish to make them live on your WordPress web design and development site.
Step 7: Testing and Launching the Site
Once you’ve installed WordPress on the site, you need to test all the functions of your site. This includes testing all the pages, posts, plugins, and themes. You also need to test the functionality of your e-commerce store if you have one. After testing everything on the test site, you can then launch the site to become life.
Step 8: Maintaining and Updating the Site

Maintaining and updating your WordPress site is important to keep your site running smoothly and to ensure that your visitors have a positive experience. There are a few key things to keep in mind when maintaining and updating your site:
1. Keep your WordPress version up to date. WordPress releases new versions of its software regularly, and it’s important to stay up to date to ensure that your site is secure and running smoothly.
2. Keep your plugins and themes up to date. In addition to keeping WordPress itself up to date, you should also keep your plugins and themes up to date. Plugin and theme developers release updates regularly, often in response to vulnerabilities discovered in their code.
3. Perform regular site backups. Backing up your site regularly is important in case something goes wrong with your hosting account or if you accidentally delete something on your site. Many great backup plugins are available for WordPress, so find one that fits your needs and schedule regular backups.
4. Monitor your website for broken links or other errors. Broken links can frustrate visitors and cause them to leave your site, so it’s important to monitor for them regularly and fix them as soon as possible. You can use a plugin like Broken Link Checker or manually check for broken links by looking through your website.
Conclusion
With the help of this guide, we hope that you now have a better understanding of how to design and develop a website on WordPress in 8 easy steps. After these steps, you should have a fully functional website with all the features necessary for your business. If you take the time to properly plan out each step and ensure everything is optimized correctly you will be able to create an amazing website that stands out from the rest. Custom WordPress development services are easy to use and very user-friendly. Good luck!
0 Comments