Today I bring a tutorial for you on MailChimp. It is one of the most used email marketing tools.
Here I’ll explain how to use MailChimp to send emails to your subscribers.
There are also other email service providers available like AWeber or Getresponse. In this article, I will not go into comparisons.
I decided to move from Feedburner to MailChimp because it seems very powerful, has a good support and is also free (up to 2,000 subscribers). If you do not know what is MailChimp then here is a brief explanation.
What is MailChimp?
It is a tool that allows you to send messages via e-mail to those customers or readers that are subscribed to your newsletter. Mailchimp is also an excellent way to get followers who can become future customers.
How to Create an Account in MailChimp?
Now I’ll teach you the steps to follow to create an account in Mailchimp:
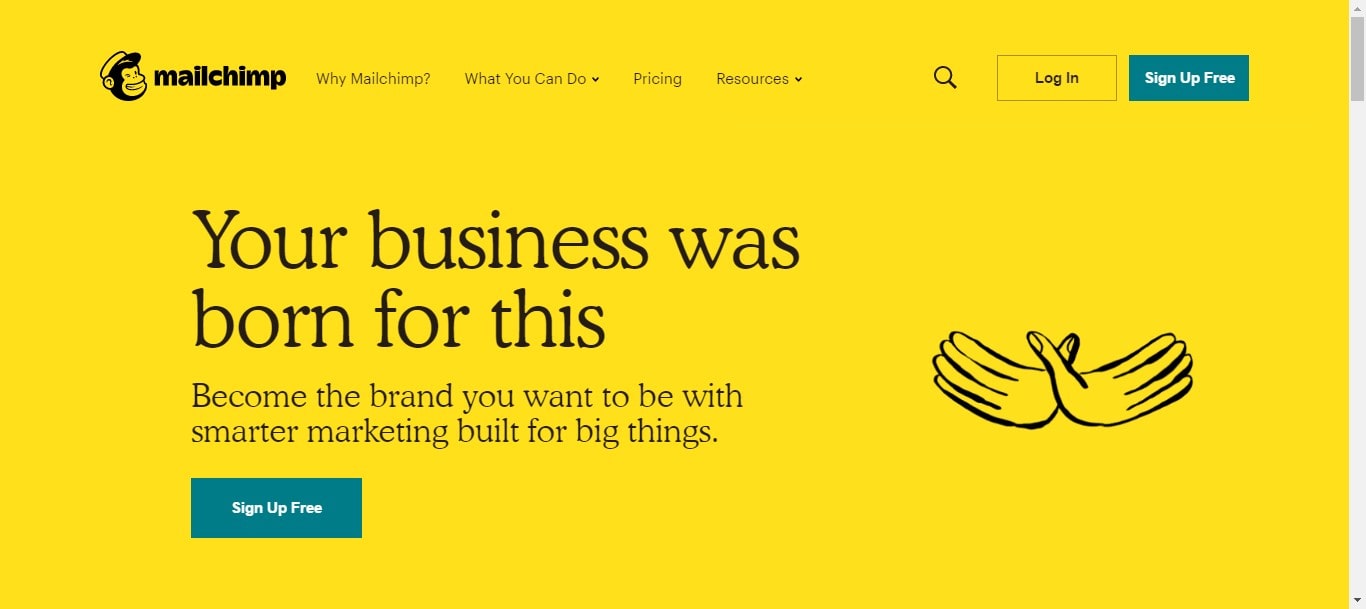
Go to MailChimp site and click on “Sing Up”
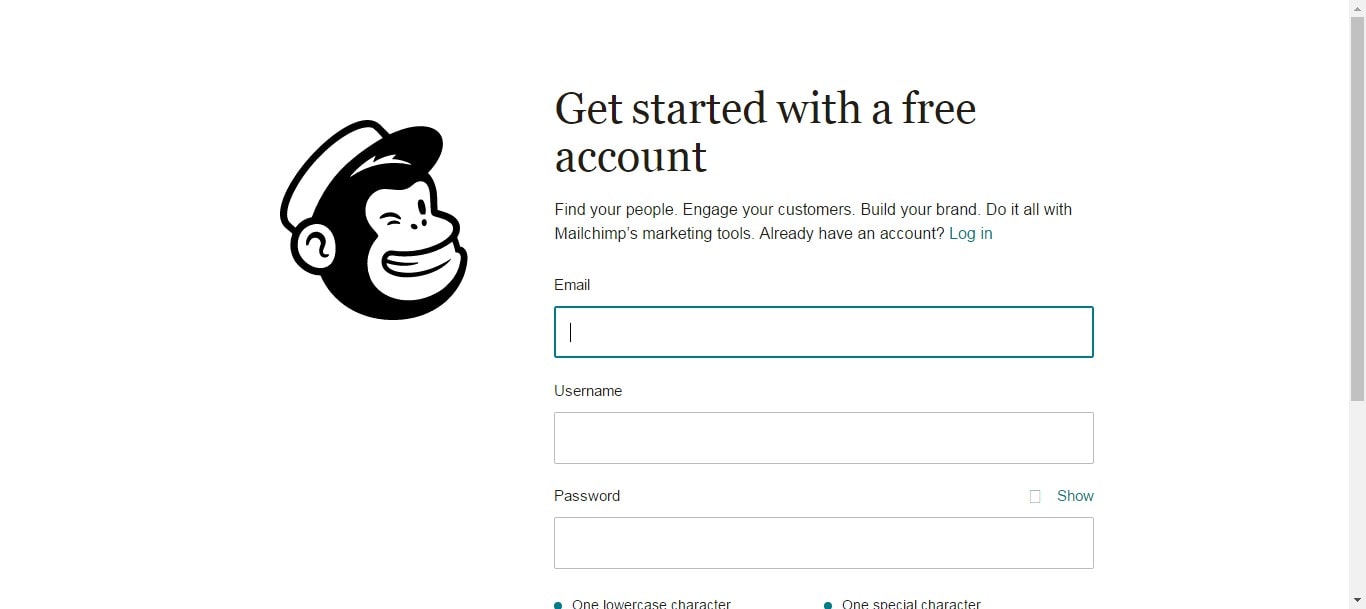
Next, you will see a screen where you will have to include your e-mail, username, and password.
It is important to note that the password must have at least one lowercase character, one uppercase character, one number, one special character such as a hyphen ( One special character and a minimum of eight characters in total. If you do not fulfill the requirements it will not allow you to create the account.
After that click on “Create My Account.”
You will receive an email to your inbox to activate the account.Check your e-mail, where you should find a message with the subject: “Activate your MailChimp account” (if you do not find it maybe it is in your spam folder).
Once opened just click on “Activate Account.”
It will open a new window in the browser in which you will be asked to confirm that you are human. Click on “I am not a robot” and then on “Confirm Signup.”
Next, you will have to include all the data related to your account:
- First Name
- Last Name
- Name of Your Business
- Website URL
- Address
- City
- State/ Province
- Postcode
- Country etc.
After submitting the above data your account will create and you will land in your dashboard.
How do I Create a Subscriber List
Once your account is created in MailChimp, the next step is to generate your list of subscribers.
Once you are into your dashboard from there you can create a campaign, create a list, customize the forms or invite other users. Before setting up a campaign, you first have to need a list.
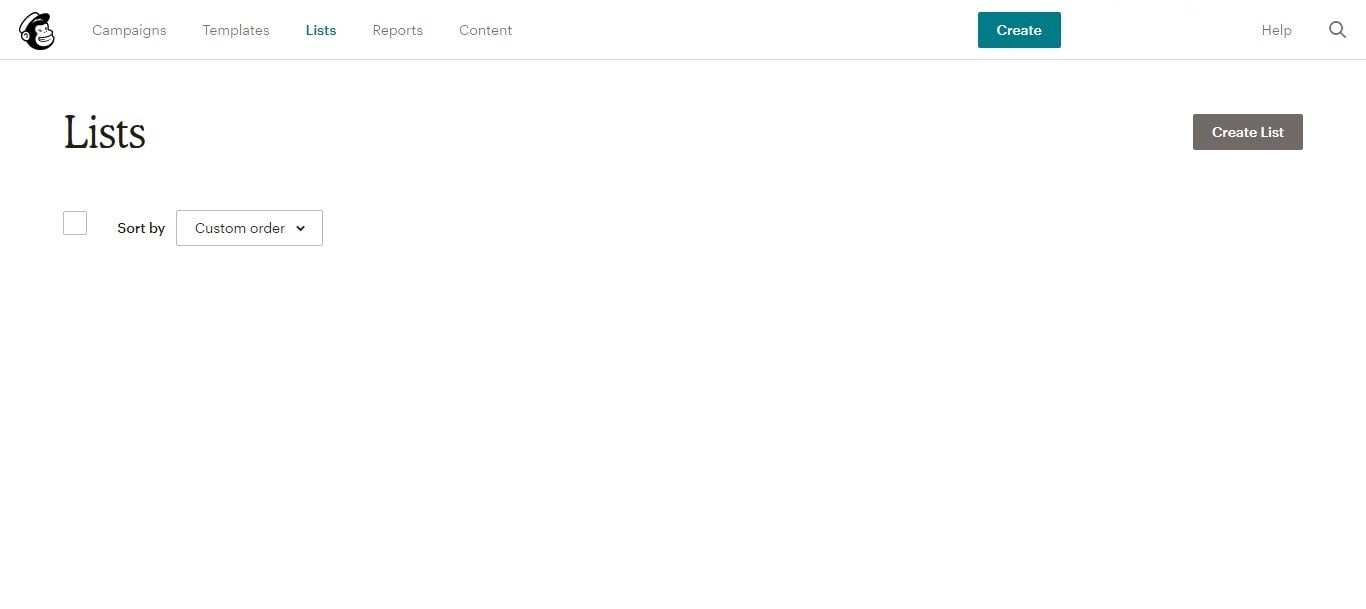
So, click on “lists” then “Create a list” or “List” (at the top left).
Next, you have to include the data of the list:
- List Name: It is the name that will have your list, for example in my case: “BloggersCampus Newsletter”.
- Default from Email: The e-mail that will appear when you send the newsletter.
- Default from Name: The name that appears as the sender of the e-mail that you send to your subscribers.
- Remind people how they got on your list: In this section, you must include an exclamation message like: “You are receiving this e-mail because you are subscribed to the BloggersCampus newsletter.
- Contact information for this list: The postal address we have previously included will appear by default.
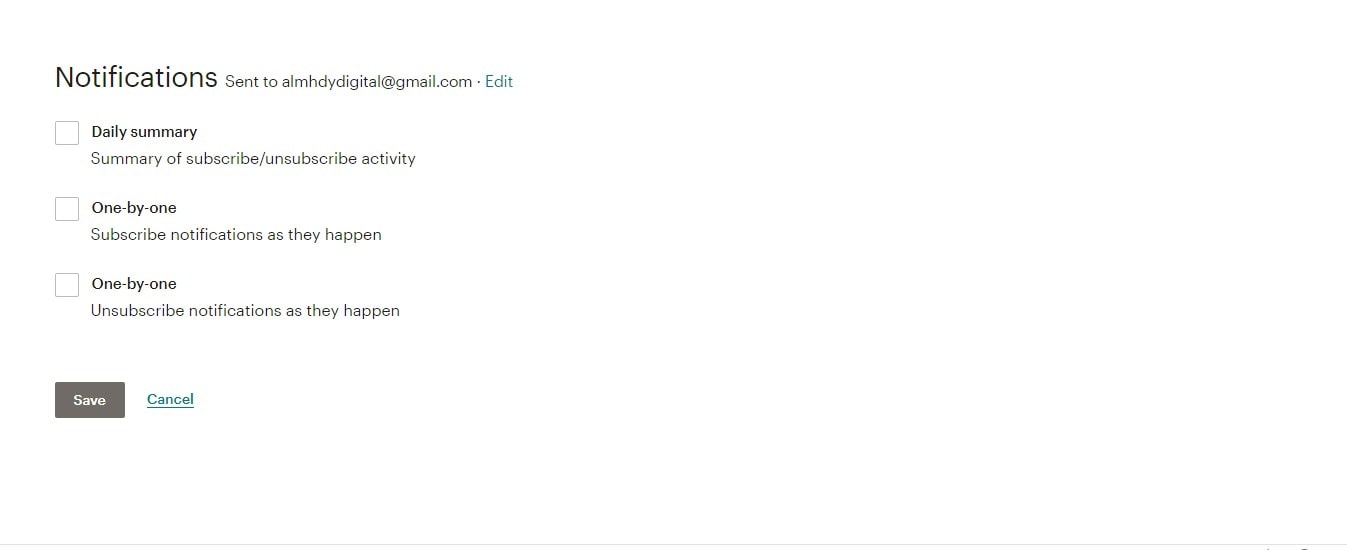
- Notifications: You have three option here. You can select all of them or select any one.
Then click on “Save” and your list is created.
In the next screen, you will see that it notifies that you have no subscribers. It gives you the opportunity to import subscribers or to configure the subscription forms.
If you have a previous subscribers list on another platform like Feedburner, then you can import them from here.
To import a list already created just click on ” Import subscribers “.
How to Set Up Subscription Forms
If you do not have a list to import the next step is to configure the subscription forms.
Once you have created your list it`s is time to set up and add a subscription box to your site.
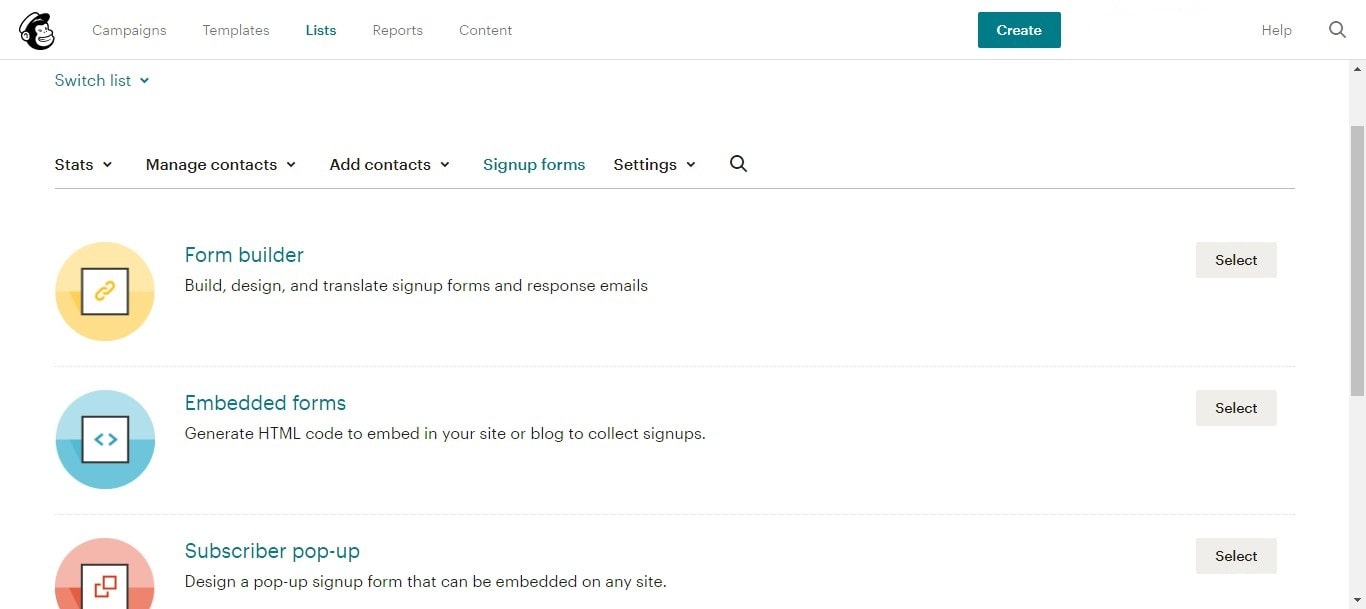
To do this go to the list page and select sign up forms from the drop down menu as you can see in below image.
Now you will see the types of sign up forms they had. In this tutorial, for example, I am going to show you how to add an embedded form.
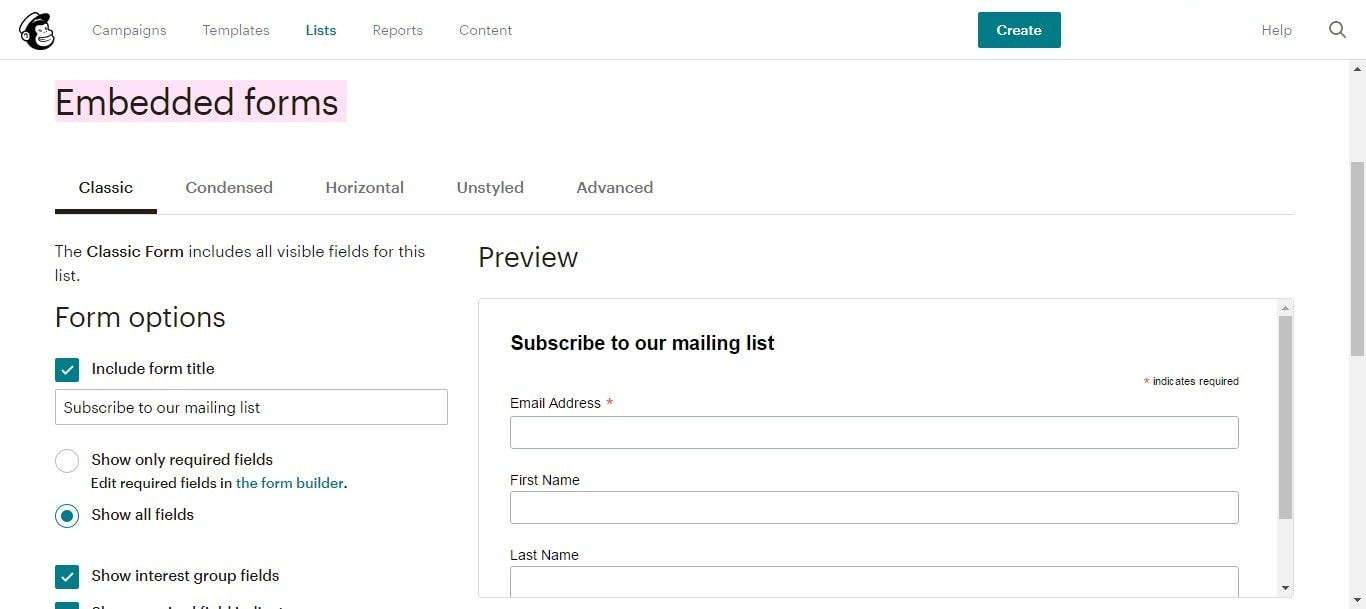
So select the embedded form and it will take you to the sign-up form creation page. Here you need to choose what kind of form you want from different options. And you can also customize the width of form and other options.
So after finishing it copy the embedded code to add the signup form to your WordPress site.
How to add sign up form in WordPress
Now let’s add the created form in your WordPress site.
First, go to WordPress dashboard and click on appearance > widgets.
Now add a text widget to your sidebar or footer area wherever you want to put the form.
Then paste the code inside the text widget and click on save.
That’s it you have all done.
Now once a reader subscribes by signing up with this form to your site he or she will get notifications of every new post.
I hope this tutorial will help you to understand that how to use MailChimp to send emails.
If you like this tutorial then please share with others.

0 Comments